ANM230 week013Role experience in different workflow & showreel

Today, we showcased our project to our fellow students, to our facilitators, to people from the industries, and to the public audience, which includes our friends and families.The above video is part of our final project deliverable.

It is the last week of this trimester, thus this will be my final blog in timester five as well as for the last studio project.In this blogs, I will summarized the roles I took in this project, and what i have done in the past twelve weeks.

This trimester I did concept design in the pre-production phase as well.But comparing to the previous trimester, it is less works. We put much effort on researching and doing the 3d animatic this time. Since it is more focus on the environment, by using the virtual camera we can get great ideas and can easily adjust.

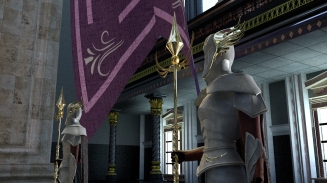
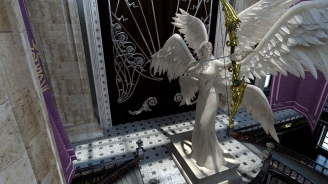
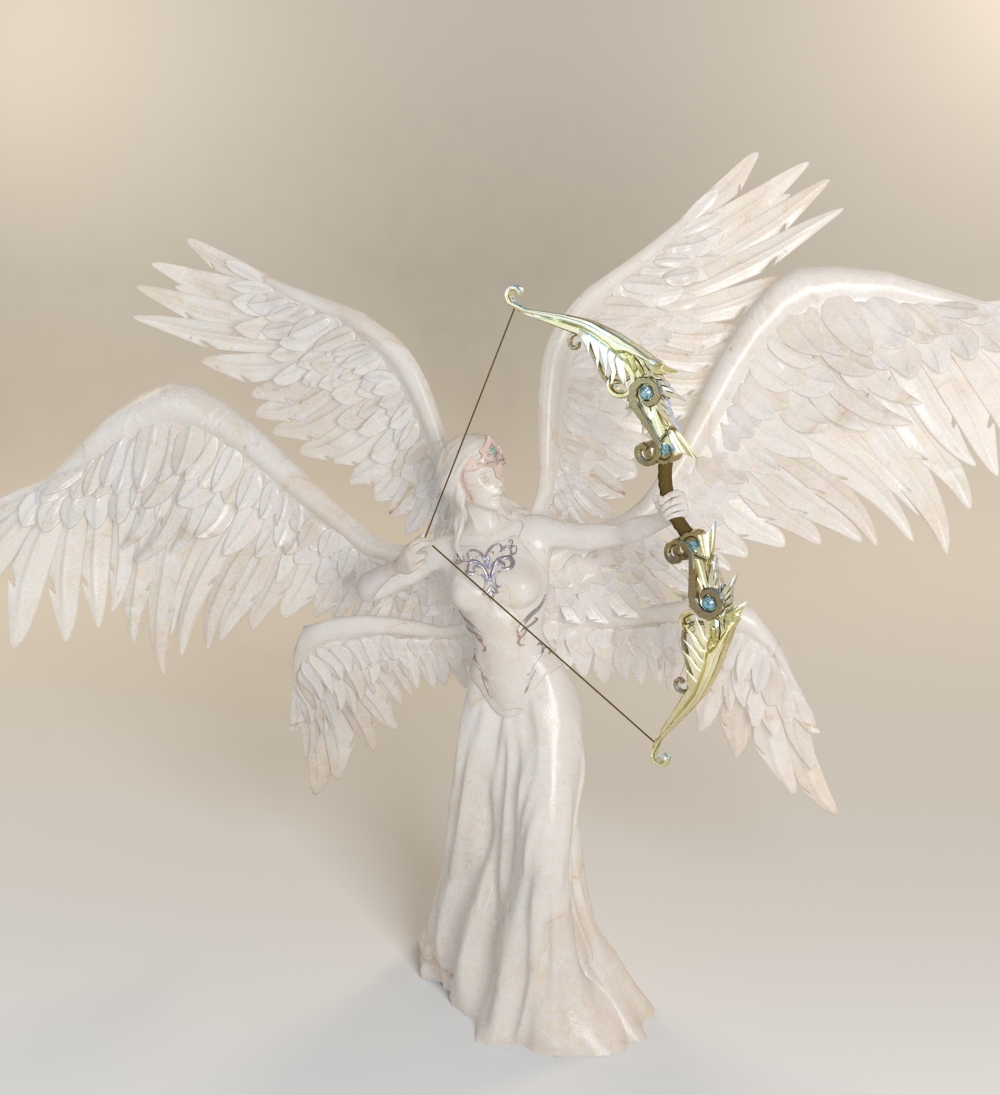
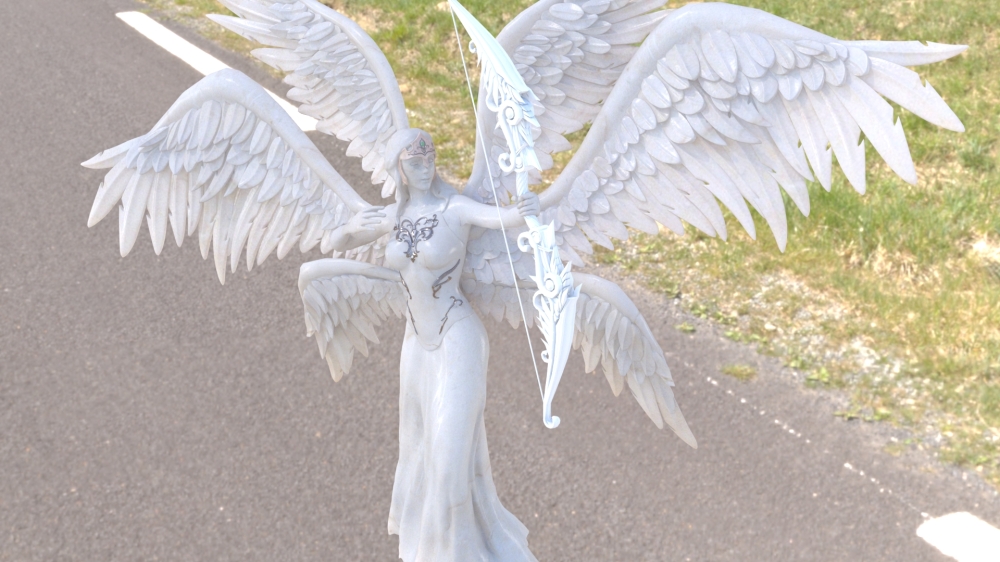
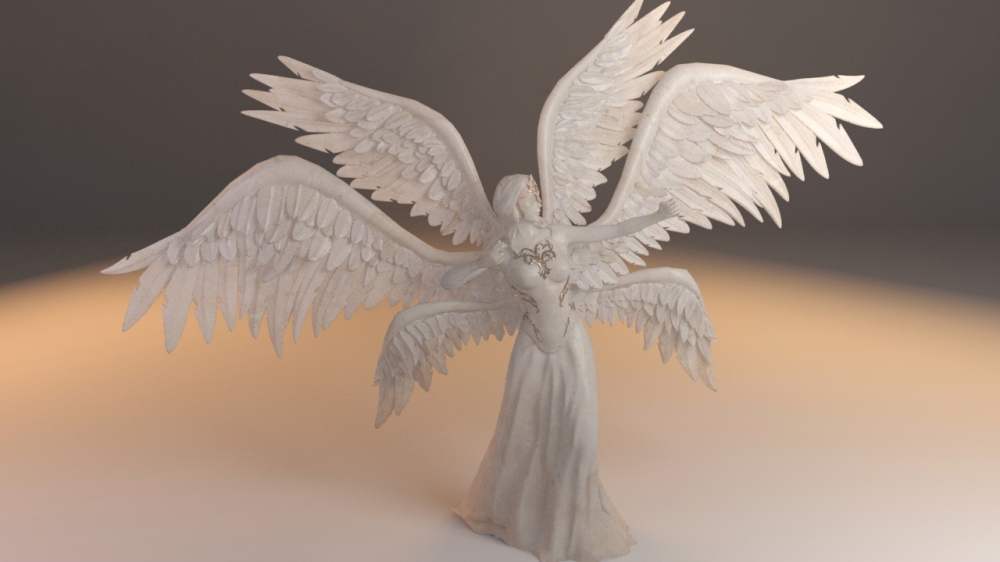
In the production phase, I have done environment and character modeling , and also in charge of the lighting. I have got quite a good feedbacks today on the protagonist I modeled, specially on the wings. For the lighting, I definitely can try and experiment more and make it better. I should study more on that.

As I doing the model this time, I used Zbrush for a better result, and I really find it useful even thought I faced a lot of problems at the beginning. I feel it really worth to learn and it is a really necessary skill in the industry. I plan to learn more by myself later.

We plan to re-render the shots during the vacation. We got lots of praises and it worthy to spend more time to get a good render result. And this time, I want to participate in the post-production phase and try more on doing the video.

ANM230 week12 demograpy,genre, style

Our project in this trimester is all most about to finish. All of our work are finished in time and did not miss the submission deadline. Yesterday, we submit all the required documents including the final deliver video, the making, marketing materials and the art bibles. Below are some of the scenes before compositing.

light_0002_Layer 1.jpglight_0000_Layer 3.jpg

You can now see some of the element in our scene. If you read my preview blogs, you will understand better what is the style we want in the beginning.

Our story includes strong supernatural elements, including mythologies from ancient Greece and Rome. Our main character, Auros, was said to be destined to be reborn as the goddess of wind. In order to properly represent this, we have given her statue wings, as wings are often depicted in relation to the element of wind. We have also included the wing design in various objects in the environment, for example the guards and the logo, in order to emphasize the presence of the wind element in the protagonist’s story.

We were inspired a lot by Kingsglaive Final Fantasy XV, and refer a lot from it. Our environment  key elements, materials and style are really similar.

Another video we refer to is this one. It is in unreel engine. While the quality is really nice. We also have some similar elements style.

We summaries this cinematic project a fantasy genre. It contains lots of roman and european element.  There are lots of fantasy film had a big win in the box office, as well as the fantasy genre video game.

Our project is for all genders. As below graphs, according to the studies of demographic of video games and fantasy films. Most of the gamer like fantasy style and the peak age is around 25 to 35 years old. And in the fantasy film categories, we contain several elements, such as fantasy, villain / hero and magic. For films, the average age that can afford the ticket is from 15 years old. So as conclusion, the target audience is approximately from 15 to 45 years old.

1*JQRZPCjNm_YMkQU7Ulwv-w.png6.jpg


References:

Klafke, T. (2015, April 17). Throne Room – Temple of Utu – Unreal 4 Environment. Retrieved 2017, from https://youtu.be/FGi1LON-fRw

P. (2016, July 23). Kingsglaive Final Fantasy XV – Official Trailer. Retrieved 2017, from https://youtu.be/htnkOpknGok

Roberts, A. (1970, January 01). Alice Roberts 6177 AS Film Coursework. Retrieved 2017, from http://alicerobertsasfilmcoursework.blogspot.ae/2012/01/research-target-audience-plan.html

ANM230 Week11

We been start putting out shot scene into the render farm in the past fews weeks. However we encounter lots of issues that force us stop and re-edit the scene file again and again. While we finally get one rendered even thought it is not complete and ha been changed again.  It took around one hour in render farm to get the result. I showed the rendered image to some professor and they response is it should not take too much time. We have to optimize the scene more.

Initially, Our team are all using 2016 version 3ds max, and we used lots of proxies in the scene. The school computer and render farm are 2017 versions. When we start render it keep showing errors and crash a lot. So we find the issues online that 2017 3ds max do not support 2016 3ds max proxy.  And some of the shader we used is not renderable in 2017. According to this tutorial, we replace all the 2016 proxy to 2017 versions.

And thankfully, that we are using lots of muti-material that used material ID. Which saved lots of replacing the material time.

To save the rendering time, I have pick up some shots which the focus object is far from the environment, and the environment does not move at all. I render the object in this scene separately, so I can just render only one background and re-using them. For the moving focus object, I save an separate file and made a new tree point lighting for it.


References:

Pattarin, M. (2016, July 16). Crash Test 3ds max 2017 Mental ray proxy. Retrieved 2017, from https://youtu.be/FME0d_yDSnU


Private: ANM230 week10 lighting & skin shader

All our model, animation and camera set are done last week, I also done with the lighting for the overall environment. I have testing and gave lots of render test to get the base lighting done.

While for each scene, the light has to be continue edit to emphasize the shot appealing more.  After done with several test and find some tutorial on line. Several setting are really fit out scene.

For the light, The key light that I used  is the daylight system. The main light is the sun, and I have use the physical sky as environment map to give the soft blue skylight on the overall scene.  Since the main light is out side the building, to make the light come inside the interior more, and lighten up the asset inside, I set sky portal light for each window. And later we can on or off it according the scene. The exposure value will be shifting between 11 to 13 to get the good result.

According to the suggestion from the lecture, the statue can have a skin shader. So that when light shot on it, you can see the light pass by and give a good looking effect.

I have tried that out, and has different renders of how this shader react to the different light setting. If you can notice, that  light have pass through the lower wing and gave  different feeling in different light.

1.jpg7.jpg6.jpg